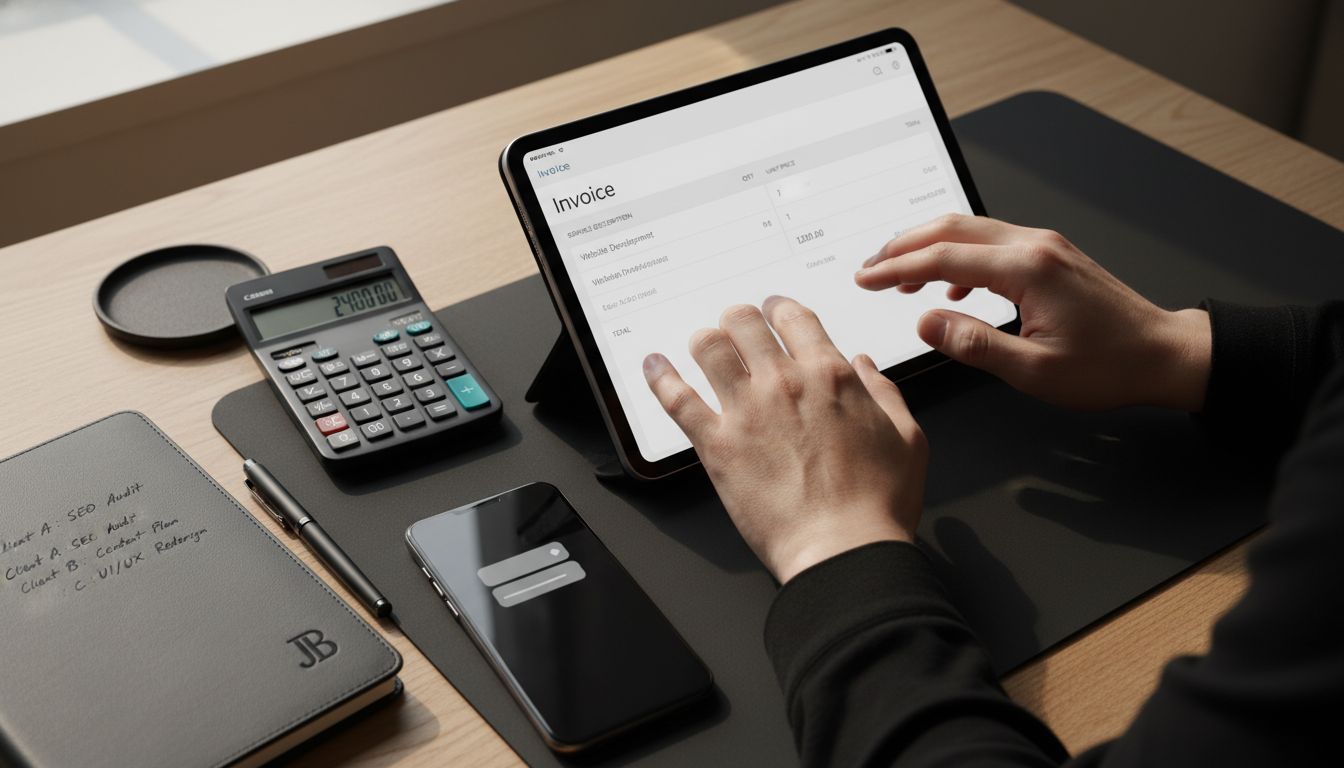
Did you know that invoices with clear, accurate details are nearly 30% more likely to be paid on time? Getting your invoicing process right not only keeps your cash flow steady but also builds trust with every client you serve. By paying close attention to what goes into each invoice and mastering the steps of creation, you set your business up for fewer disputes and faster payments.

How to Make an Invoice: Easy Steps for Businesses
Table of Contents
- Step 1: Identify Required Invoice Details And Information
- Step 2: Select The Right Invoice Creation Tool
- Step 3: Design And Format Your Invoice Template
- Step 4: Input Itemized Products Or Services
- Step 5: Verify Invoice Accuracy Before Sending
- Step 6: Export And Share Your Invoice With Clients
Quick Summary
| Key Point | Explanation |
|---|---|
| 1. Include essential invoice details | Always list business name, remit address, invoice number, and itemized costs for clarity and tracking. |
| 2. Choose an effective invoicing tool | Select a tool that supports customization, professional templates, and online payments to enhance efficiency. |
| 3. Design a professional invoice layout | Use a clean template, incorporate branding elements, and ensure logical information flow to boost credibility. |
| 4. Input accurate itemized services/products | Provide detailed descriptions, quantities, and pricing with automatic calculations to prevent billing errors. |
| 5. Verify invoice accuracy before sending | Double-check client information, calculations, and formatting to maintain your reputation for reliability and precision. |
Step 1: Identify required invoice details and information
In this crucial step, you will learn exactly what information needs to be included on a professional invoice. Getting these details right ensures smooth financial transactions and helps maintain clear communication with your clients.
According to the University of California Davis research, an invoice must contain several key components that create a comprehensive record of the transaction. Start by gathering the supplier or business name as the primary identifier. Next, include the complete remit address and contact information, which helps establish clear communication channels for payment processing.
Ensure you document the precise invoice date and unique invoice number. These elements are critical for tracking and referencing specific transactions. Additionally, include the purchase order number if applicable, as this helps both parties match the invoice to the original order.
You will also want to capture the delivery address and contact details for the person who originally placed the order. This creates accountability and provides a clear audit trail. As research from Wave Apps indicates, an invoice fundamentally records what was purchased, the quantity, the price, and when the purchase occurred.
Pro Tip: Always triple-check contact and numerical information to prevent potential payment delays or misunderstandings.
The final critical elements include payment terms, the specific due date, and comprehensive item details. Make sure to include individual line items with accurate descriptions, quantities, unit prices, applicable taxes, and any shipping charges. These granular details protect both the supplier and the client by creating total transparency.
With these details carefully compiled, you are now prepared to move forward and create a professional, comprehensive invoice that meets all standard business requirements.
Here’s a summary of the essential invoice details to include:
| Component | Purpose | Example |
|---|---|---|
| Business Name | Identifies sender | ABC Consulting LLC |
| Remit Address/Contact | Establishes communication | 123 Main St, (555) 123-4567 |
| Invoice Date & Number | Enables tracking | 03/07/2024, #1025 |
| Purchase Order Number | Matches to original order | PO-45012 |
| Delivery Details | Links to recipient & order placer | 456 Oak Rd, John Smith |
| Payment Terms/Due Date | Clarifies deadlines | Net 30, 04/06/2024 |
| Itemized Details | Ensures transparency | Web Design, 2 hrs, $100/hr |
| Taxes/Shipping | Reflects total costs | $15 tax, $10 shipping |
Step 2: Select the right invoice creation tool
In this step, you will discover how to choose the perfect invoice creation tool that streamlines your business financial processes. The right tool can save you time, reduce errors, and make invoicing a breeze.
Research shows several robust options exist for businesses seeking efficient invoicing solutions. According to Wave Apps, an ideal invoice generator should offer features like customization, unlimited invoice creation, and seamless customer management.
Start by evaluating your specific business needs. Consider factors like the number of invoices you generate monthly, your budget, and required integration capabilities. Some tools like Zoho Invoice provide flexible customization and multiple templates that can adapt to different business styles.
Look for tools that offer key features such as:
- Professional invoice templates
- Easy customization options
- Customer management capabilities
- Online payment collection
- Expense tracking functionality
- Integration with other business software
Pro Tip: Always test the tool with a free trial before committing to ensure it meets your specific workflow requirements.
Zoho Invoice exemplifies what businesses should seek in an invoicing tool. Their platform enables professional invoice creation, supports online payment collection, and offers flexible app integrations that can streamline your financial processes.
With the right tool selected, you are now prepared to create professional invoices that reflect your business’s quality and attention to detail.
Step 3: Design and format your invoice template
In this step, you will transform a basic invoice into a professional representation of your business brand. Creating a visually appealing and clear invoice template helps establish credibility and ensures smooth financial communication.
According to Visme, modern invoice design offers incredible flexibility with customizable templates that can be tailored to match your unique business identity. Begin by selecting a clean, professional template that provides ample space for all necessary information.
Focus on incorporating your company’s visual elements. Add your business logo prominently to reinforce brand recognition. Choose a consistent color scheme that aligns with your existing marketing materials. Typography matters too select a professional font that remains readable and matches your brand personality.
Research from Zistemo highlights the importance of a user friendly design. Their invoice creator recommends using a drag and drop interface to easily adjust layout and elements. Consider these key design principles:
- Maintain white space for readability
- Align text and numbers consistently
- Use clear section headers
- Ensure contact information is prominent
- Create a logical flow of information
Pro Tip: Test your invoice template across different devices to ensure it looks professional on mobile and desktop platforms.
Each section of your invoice should be clearly defined. Place your business details at the top, followed by client information, then a detailed breakdown of services or products. Ensure line items are easy to read with consistent formatting.
With a polished invoice template ready, you are now prepared to create professional financial documents that represent your business with clarity and style.
Step 4: Input itemized products or services
In this critical step, you will transform your invoice from a basic document to a detailed financial record by carefully entering each product or service with precision. Accurate itemization ensures transparent billing and helps prevent potential misunderstandings with your clients.
According to TextMagic’s invoice generator, entering items should be a systematic process that allows for automatic calculations. Start by creating a detailed line for each product or service rendered, including specific descriptions that provide clarity.
Each line item should contain key information such as:
- Precise product or service description
- Quantity of items
- Individual unit price
- Total price per line item
- Any applicable taxes or discounts
Research from WPS Office suggests utilizing smart formulas that automatically calculate subtotals, taxes, and final amounts. This approach minimizes manual calculation errors and streamlines your invoicing process.
Pro Tip: Always double check your line item entries to ensure accuracy before finalizing the invoice.
Pay special attention to how you describe each item. Use clear, concise language that leaves no room for interpretation. If you provided multiple services or products, organize them logically perhaps by type, chronology, or priority.
Consider grouping similar items together and providing aggregate information where appropriate. This helps your client quickly understand the breakdown of charges and demonstrates your professional approach to billing.
With your itemized entries complete, you are now ready to create a transparent and professional invoice that clearly communicates the value of your work.
Step 5: Verify invoice accuracy before sending
In this critical final step, you will meticulously review your invoice to ensure every detail is precise and professional. A thorough review prevents costly errors and maintains your business reputation for accuracy and reliability.
According to Wave’s invoice generator, the verification process involves carefully checking all aspects of your invoice before transmission. Begin by reviewing each line item to confirm quantities, prices, and descriptions match your original records exactly.
Verification checklist for your invoice should include:
- Correct client name and contact information
- Accurate pricing for each product or service
- Correct calculation of subtotals and total amount
- Proper application of taxes and discounts
- Matching purchase order or contract details
- Consistent formatting and professional appearance
Research from TextMagic highlights the importance of using preview tools that allow final adjustments before sending. Take advantage of digital tools that offer comprehensive review options.
Pro Tip: Create a standardized internal review process that includes a second set of eyes to catch any potential mistakes.
Pay special attention to numerical accuracy. Even small calculation errors can lead to significant misunderstandings or payment delays. Verify that all mathematical calculations are correct and that totals precisely reflect the itemized charges.
Consider the various transmission options available such as emailing as a PDF, downloading for record keeping, or direct electronic sending. Choose the method that best suits your client’s preferences and your business workflow.
With a thoroughly verified invoice, you are now ready to confidently send a professional document that reflects your commitment to precision and quality.
Step 6: Export and share your invoice with clients
In this final stage, you will transform your carefully crafted invoice into a professional communication that reaches your client efficiently. The right sharing method ensures timely payment and maintains clear business communication.
According to Wave’s invoice generator, modern businesses have multiple powerful options for invoice transmission. You can choose from direct email sending, PDF downloads, or printed copies depending on your client’s preferences and your workflow.
Consider these primary sharing methods:
- Direct email attachment
- Downloadable PDF link
- Secure client portal upload
- Printed physical document
- Digital sharing through cloud storage
Research from TextMagic suggests creating a template permalink that allows flexible sharing options. This approach provides clients with multiple convenient ways to receive and process your invoice.
Pro Tip: Always confirm your client’s preferred communication method before sending to ensure optimal receipt and processing.
When sharing digitally, ensure your invoice file is properly secured. Use password protection for sensitive financial documents and consider encryption for added security. Check that the file format is universally accessible like PDF to guarantee smooth transmission.
Select a transmission method that balances professionalism with convenience.
Some clients prefer traditional email attachments while others might appreciate more modern solutions like secure client portals or digital sharing platforms.
With your invoice successfully exported and shared, you have completed a professional financial communication that represents your business with clarity and precision.
Simplify Your Invoice Process with Smart Data Extraction
Creating accurate and detailed invoices can be time-consuming and prone to errors, especially when managing large volumes of billing information as outlined in “How to Make an Invoice: Easy Steps for Businesses.” From itemized product entries to verifying totals and payment details, the challenge is clear: how do you save time while maintaining precision and professionalism? If you want to reduce manual data entry and avoid costly mistakes, automating the extraction of key invoice details is the solution.
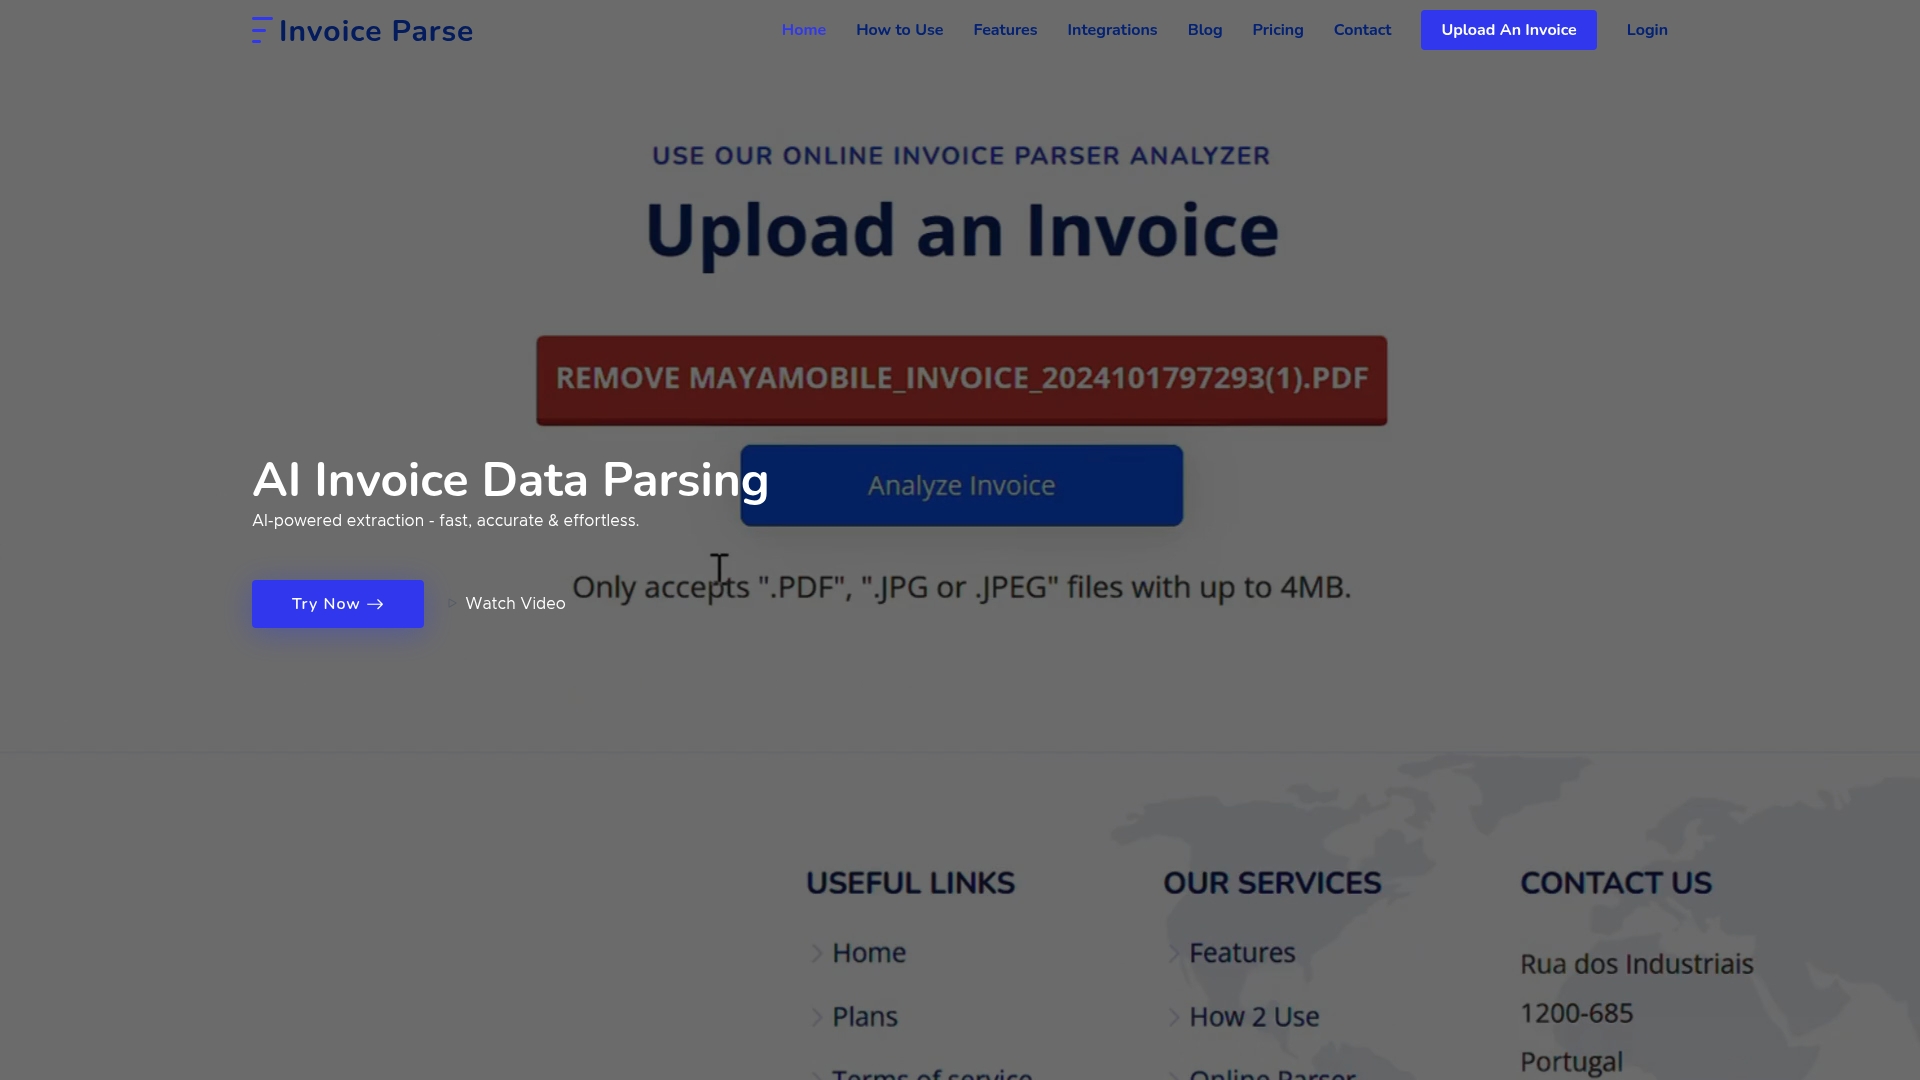
Discover how Invoice Parse uses AI to instantly identify and organize crucial invoice data such as vendor names, line items, totals, dates, and more without the need for templates. Built for seamless integration with popular tools like Excel and Power BI, this platform transforms your invoice workflow into a faster, error-free system. Don’t wait for payment delays caused by inaccurate invoices. Visit Invoice Parse now to explore plans suited for individuals, teams, and enterprises and start automating your invoicing process today.
Frequently Asked Questions
What details should I include when making an invoice?
To create a comprehensive invoice, include the business name, contact details, invoice date, unique invoice number, and payment terms. Ensure you also add itemized product or service descriptions along with their quantities and prices for transparency.
How can I ensure my invoice is accurate before sending it to clients?
Verify your invoice by checking client information, pricing, calculations, and any applicable taxes. A thorough review can prevent errors that might delay payment, so consider creating a standard checklist to triple-check every detail.
What are the best practices for formatting an invoice template?
Use a professional template that includes your logo and sticks to a consistent color scheme for brand recognition. Maintain ample white space for readability and ensure that all sections, such as payment terms and item details, are clearly defined and logically arranged.
What is the best process for sharing my completed invoice with clients?
Choose a sharing method that fits your client’s preferences, such as emailing a PDF or using a secure client portal. Before sending, verify that your file is easily accessible and consider adding password protection for sensitive information.
How do I keep track of different invoices and their statuses?
Implement a systematic tracking process by numbering each invoice and recording key details in a spreadsheet. Update the status of invoices—whether paid, pending, or overdue—within 30‑60 days to keep your financial records organized and accurate.