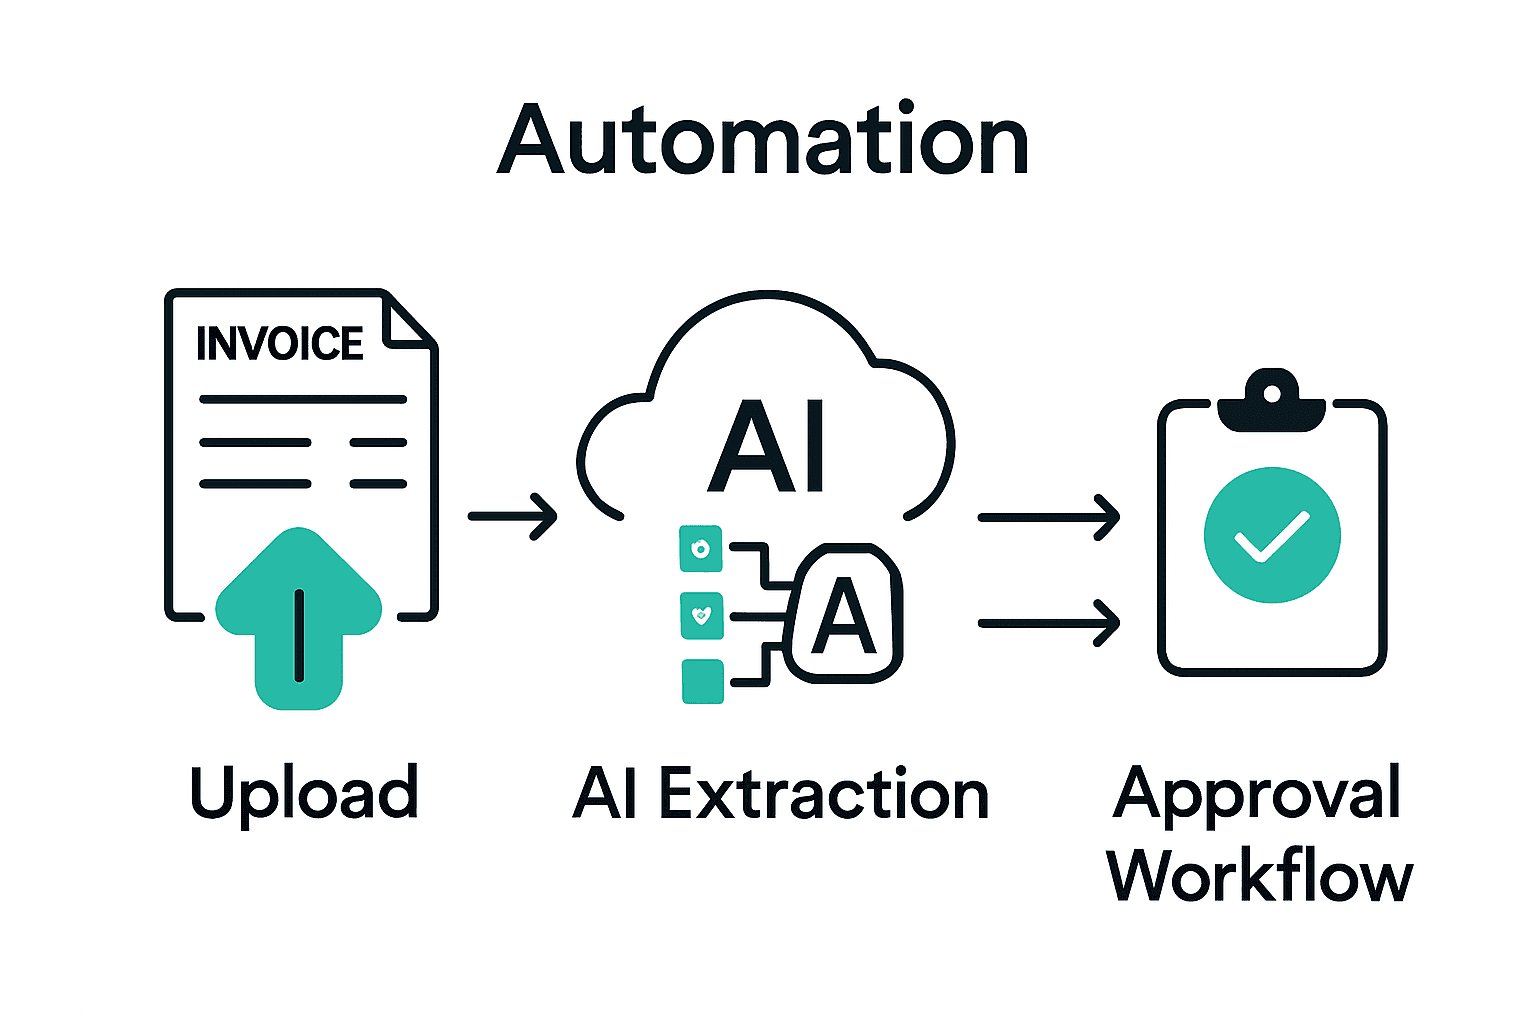
Manual invoice processing can eat up hours and drain resources fast. With over 90 percent of businesses reporting costly delays due to slow invoice handling, finding a smarter approach is more urgent than ever. Modern automation tools now make it possible to extract, process, and organize invoice data with remarkable speed and accuracy. This step-by-step guide offers practical strategies to set up a seamless automated invoice workflow, helping you save time and reduce errors from day one.

How to Extract Information from Invoices Power Automate
Table of Contents
- Step 1: Set Up Invoice Parse And Power Automate Accounts
- Step 2: Configure Upload Action For Invoice Documents
- Step 3: Connect Invoice Parse To Power Automate Flow
- Step 4: Map Extracted Invoice Data To Desired Outputs
- Step 5: Test And Verify Automated Invoice Extraction Process
Quick Summary
| Key Point | Explanation |
|---|---|
| 1. Set up accounts in Invoice Parse and Power Automate | Create and link your accounts to automate invoice processing and facilitate data extraction efficiently. |
| 2. Configure automated document upload action | Set up a manual trigger in Power Automate to allow seamless uploads of invoice documents for processing. |
| 3. Connect Invoice Parse to Power Automate flow | Establish the integration using an API key to enable efficient extraction of invoice data within your workflow. |
| 4. Map extracted invoice data to output destinations | Transform raw data into structured information by mapping it to various outputs based on your business needs. |
| 5. Test and verify the automated workflow | Run thorough tests on different invoice types to ensure accurate data extraction and system reliability. |
Step 1: Set up Invoice Parse and Power Automate accounts
In this step, you will create and link your Invoice Parse and Power Automate accounts to streamline your invoice processing workflow. By connecting these platforms, you can automate complex data extraction tasks and transform manual invoice handling into an efficient, intelligent system.
Begin by signing into your Power Automate account. According to Microsoft Learn, the first crucial step is accessing your cloud flow environment. Navigate to the Power Automate dashboard and select “Create” to start building your invoice processing automation. You will need to ensure you have the necessary permissions to create flows and access AI Builder features.
Next, visit Invoice Parse and create your account by providing your business email and selecting an appropriate subscription tier. Once registered, locate the API credentials or integration token that you will use to connect with Power Automate. This connection will enable seamless data transfer between the two platforms.
Pro Tip: Always use a professional email address and enable two-factor authentication to protect your invoice processing workflow.
The final step involves generating an API key in Invoice Parse and configuring the connection within your Power Automate flow. Power Automate’s documentation provides detailed guidance on integrating AI models for invoice processing. Verify your connection by running a test invoice through the system to ensure smooth data extraction.
With these accounts set up, you are now ready to move forward with designing your automated invoice processing workflow.
Step 2: Configure upload action for invoice documents
In this step, you will set up the upload mechanism for invoice documents within Power Automate, transforming manual document processing into an automated workflow. The goal is to create a seamless process that allows quick and efficient invoice document uploads.
According to Microsoft Learn, the first step is to create a manual trigger in Power Automate that enables document uploads. Navigate to the Power Automate dashboard and select “New Flow” then choose “Manually trigger a flow” as your starting point. This will generate a custom trigger that allows you to initiate your invoice processing workflow directly.
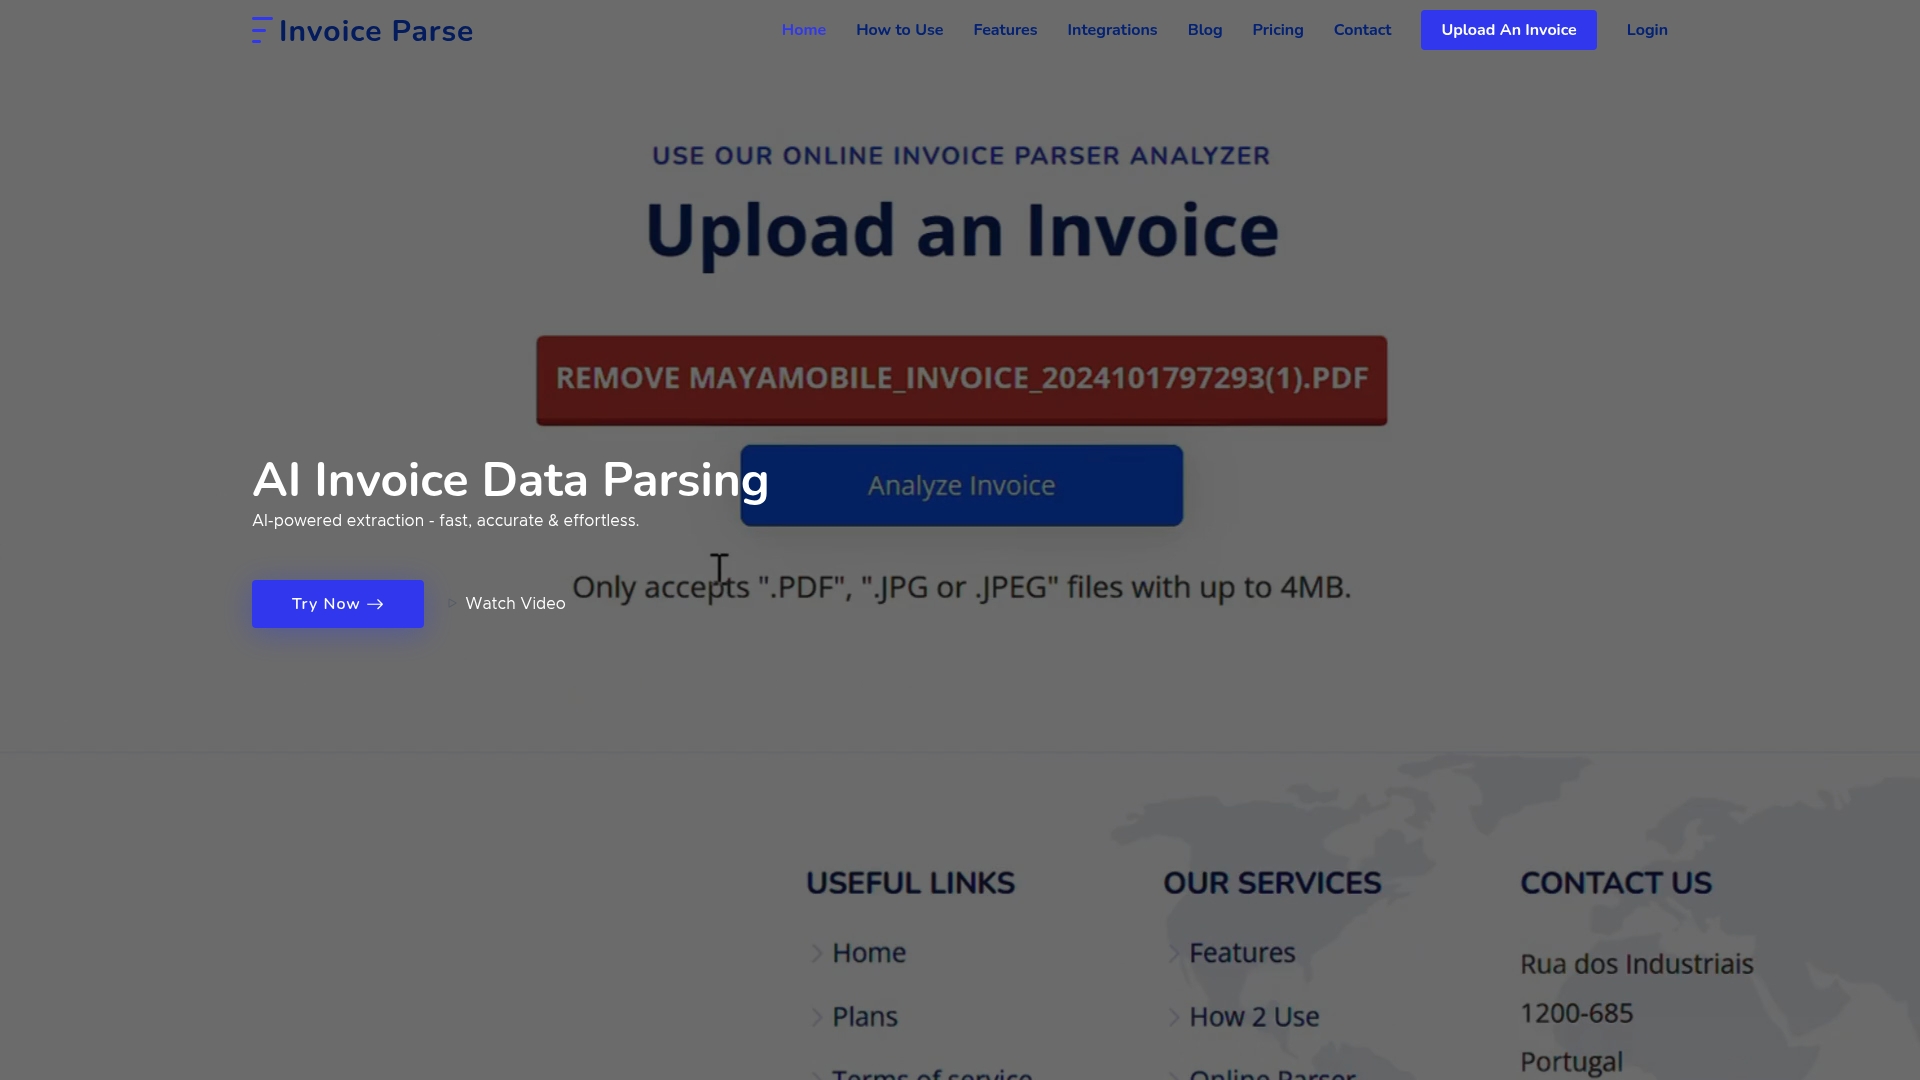
Next, you will configure the document upload action. Microsoft Training recommends adding a “Get File Content” action that will pull the uploaded invoice document into your workflow. Select the appropriate data source like OneDrive or SharePoint where your invoices will be stored. Configure the action to accept multiple file types such as PDF and image formats to ensure flexibility.
Pro Tip: Always validate file types and sizes before processing to prevent workflow interruptions.
The final configuration involves connecting the upload action to your Invoice Parse AI model. Add the “Predict” action from AI Builder and map the file content from your upload trigger. This will enable automatic data extraction and parsing of your uploaded invoice documents.
With these configurations complete, your Power Automate flow is now ready to automatically process and extract information from uploaded invoices.

Step 3: Connect Invoice Parse to Power Automate flow
In this critical step, you will establish the connection between Invoice Parse and your Power Automate workflow, enabling seamless automated invoice data extraction. This integration transforms your manual invoice processing into an intelligent, efficient system that saves time and reduces human error.
According to Microsoft Learn, the first step is to add the ‘Extract information from invoices’ action to your existing Power Automate flow. In your flow designer, select ‘Add an action’ and search for ‘AI Builder’ or ‘Extract information from invoices’. This action will allow you to specify the invoice file input and map the extracted data fields.
Power Automate’s documentation recommends generating an API key in Invoice Parse that you will use to authenticate the connection. Navigate to your Invoice Parse account settings and locate the API integration section. Copy the generated API key and return to your Power Automate flow to input these credentials.
Pro Tip: Always use secure, unique API keys and rotate them periodically to maintain optimal security.
Next, configure the data mapping between Invoice Parse and Power Automate. Select the specific invoice fields you want to extract such as vendor name, invoice number, total amount, and date. Ensure these fields align with your business requirements and downstream processing needs.
With these connections established, your automated invoice processing workflow is now ready to extract and route invoice information with unprecedented speed and accuracy.
Step 4: Map extracted invoice data to desired outputs
In this pivotal stage, you will transform the raw extracted invoice data into actionable insights by strategically mapping the information to your preferred output destinations. This process turns unstructured invoice information into structured data that can power your business intelligence and financial workflows.
According to Microsoft Learn, one powerful approach is creating an HTML table to visualize the key value pairs detected during invoice processing. In your Power Automate flow, select ‘Create HTML Table’ as a subsequent action and choose the specific invoice fields you want to display such as vendor name, invoice number, total amount, and date.
Power Automate’s documentation recommends exploring multiple output options to maximize the extracted data’s utility. Consider routing invoice data to various systems like Excel spreadsheets, accounting software, enterprise resource planning platforms, or triggering automated approval workflows based on specific conditions.
Pro Tip: Design your data mapping to be flexible allowing easy reconfiguration as your business requirements evolve.
Begin by identifying your primary data consumption needs. Do you require real time reporting? Automated accounting entries? Compliance tracking? Each destination will have unique mapping requirements that you will configure within the Power Automate flow.
With strategic data mapping completed, you have transformed invoice processing from a manual task into an intelligent automated system that delivers precise financial insights precisely when you need them.
Step 5: Test and verify automated invoice extraction process
In this crucial validation stage, you will methodically confirm that your automated invoice extraction workflow performs accurately and reliably across different invoice types and scenarios. Testing ensures your system captures critical financial data with precision and minimal human intervention.
According to Microsoft Learn, the first step is to save and run your cloud flow to verify the AI Builder invoice processing model extracts information correctly. Prepare a diverse set of sample invoices representing various formats, vendors, and complexity levels to comprehensively test your automation.
Power Automate’s documentation recommends conducting multiple test scenarios to validate the extraction process. Run your flow with invoices that have different layouts, include handwritten notes, contain complex tables, or have slight imperfections to assess the AI model’s adaptability and accuracy.
Pro Tip: Create a dedicated test folder with invoices intentionally designed to challenge your extraction algorithm.
Compare the extracted data against the original source documents manually. Check for precision in capturing vendor names, invoice numbers, line items, total amounts, and dates. Pay special attention to edge cases and anomalies that might require additional model training or workflow adjustments.
With thorough testing complete, you have transformed a manual invoice processing system into a robust automated workflow that delivers consistent and reliable financial data extraction.
Streamline Your Invoice Extraction with Invoice Parse and Power Automate
The article outlines the complex challenge of automating invoice data extraction using Power Automate and AI Builder, highlighting steps like connecting platforms, configuring upload actions, and mapping extracted fields. If you face frustrations processing large volumes of invoices manually or worry about errors disrupting your financial workflows, you are not alone. This process demands precision, secure API integrations, and adaptable data output formats to truly unlock automation benefits.
Invoice Parse removes those hurdles by offering an easy-to-use SaaS platform that instantly converts your PDF or image invoices into accurate structured data without templates or complex setup. By integrating seamlessly with Power Automate and exporting to Excel or accounting systems, it empowers your business to reduce manual work while gaining real-time insights.
Ready to stop wasting time on manual invoice processing and start experiencing reliable, scalable automation today?
Explore how Invoice Parse works hand-in-hand with Power Automate to simplify every step from upload to data mapping. Visit our landing page now and take your invoice automation to the next level. Don’t wait to boost accuracy and efficiency with our AI-powered service designed for businesses just like yours.
Frequently Asked Questions
How do I set up my Power Automate account for invoice extraction?
To set up your Power Automate account for invoice extraction, sign into your account, navigate to the dashboard, and select ‘Create’ to initiate a new flow. Ensure you have the necessary permissions to access AI Builder features for a smooth setup process.
What is required to connect Invoice Parse with Power Automate?
To connect Invoice Parse with Power Automate, you need to create an Invoice Parse account and generate an API key for authentication. Use this API key to configure the connection in your Power Automate flow for seamless data transfer.
How can I test the automated invoice extraction process?
You can test the automated invoice extraction process by saving and running your cloud flow with a diverse set of sample invoices. Compare the extracted data against the original documents to ensure accuracy in capturing critical invoice details.
What types of documents can I upload for invoice processing in Power Automate?
You can upload various document types such as PDF and image formats for invoice processing in Power Automate. Configure the upload action to accept multiple file types to allow for flexibility in your document workflow.
How do I map the extracted invoice data to specific outputs?
To map extracted invoice data to specific outputs, use the ‘Create HTML Table’ action in Power Automate and select the relevant fields like vendor name, total amount, and date. This will help structure the data for reporting or integration into other systems.
What should I do if the AI model struggles with certain invoice formats?
If the AI model struggles with certain invoice formats, consider conducting an analysis of the failed extractions and adjusting the workflow or data mapping accordingly. You may need to retrain the model with diverse samples or refine the configuration to improve accuracy.